And then for a tutorial about how I (and by I, I mean my Aunt Marsha) sewed the panels. First, I will tell you that I'm sure that I could have done it with a lot more patience, time, and a sewing machine...with her supervision. There is no way I could have done this without frustration and wasting material.
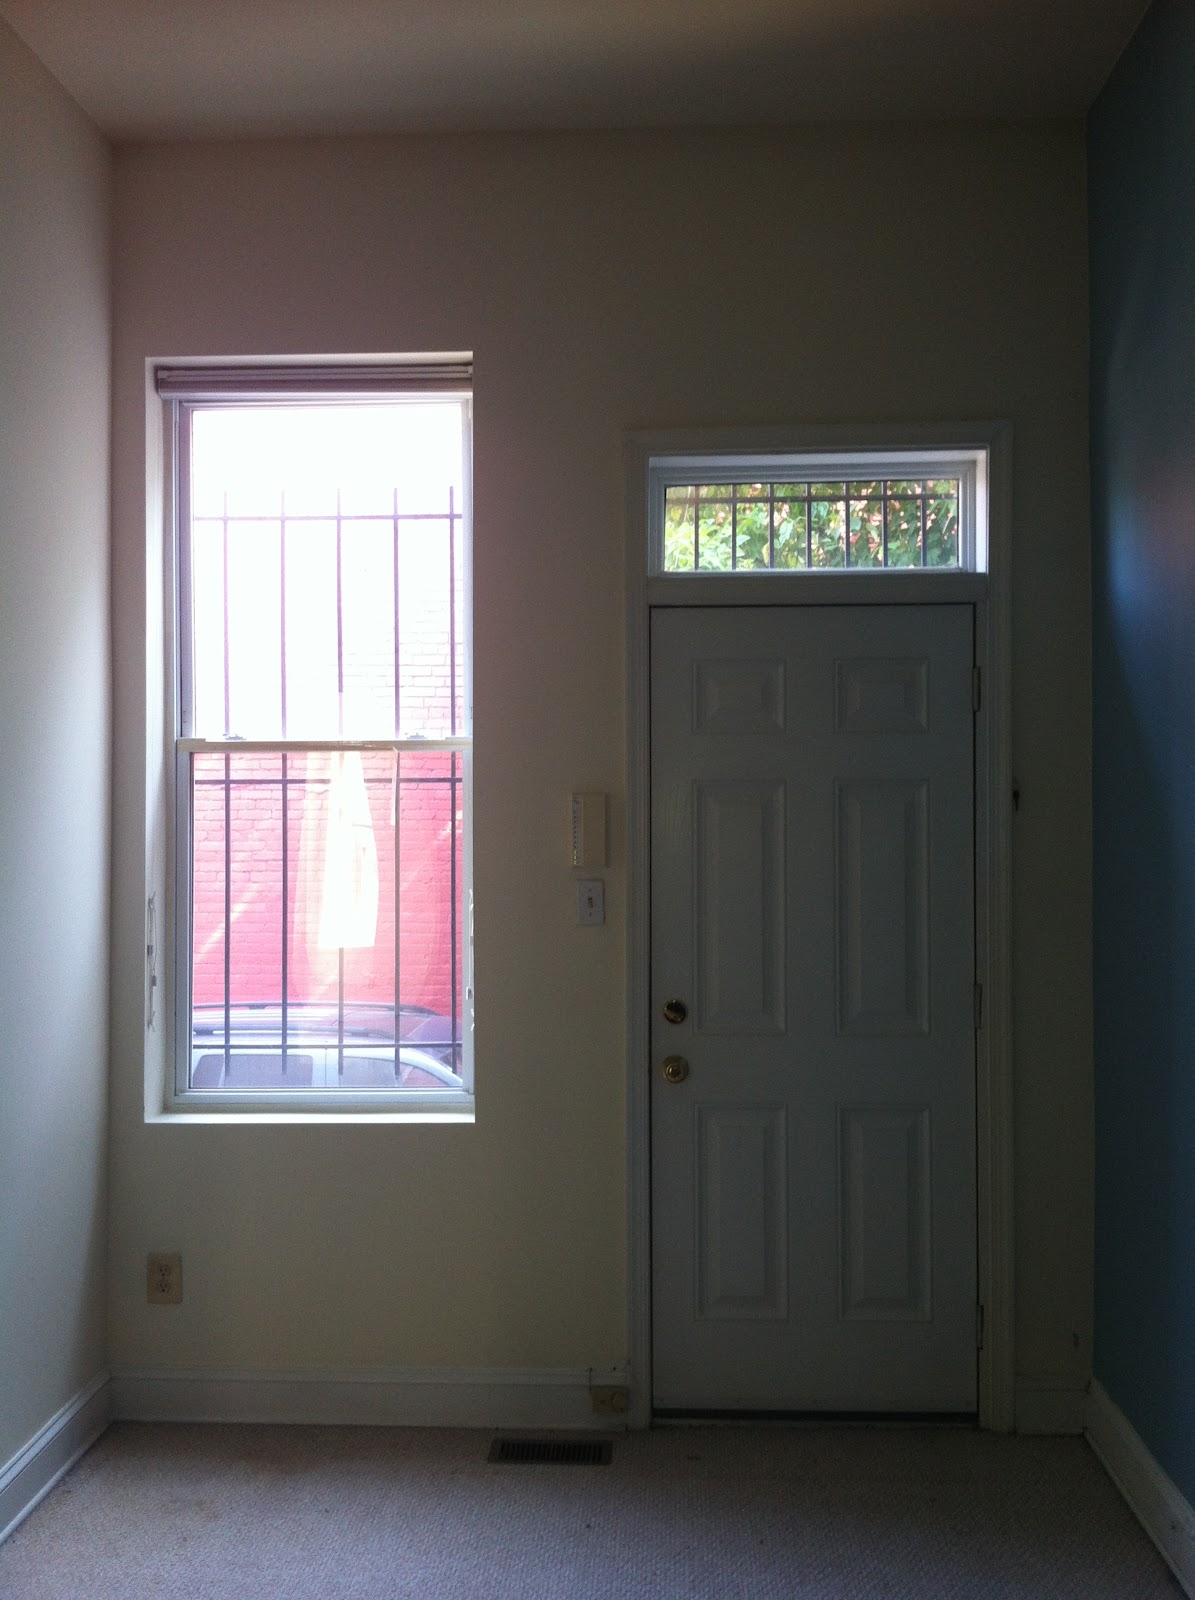 |
| Don't you just love the look of the bars and brick? Me too. Now you know why a whole wall of curtains had to be done. |
Anyway, here's how I went about choosing my fabric with guidance from my aunt.
- Hunker down at the computer with my glasses so you can see clearly.
- Go through thousands of swatch samples from JoAnn's Fabric. Don't limit yourself and click on every sub-category. If you have a color idea in mind, make sure that you look at your primary and secondary colors, i.e. primary: purple, white, gray, secondary: blue, dark gray, etc.
- To see how the colors would go together, I saved the swatches as pictures and stitched them together with Picasa Collage Maker. Very simple and helped me start to visualize what I was about to do.
- Since I had a long wall (8 feet) I knew that I would need at least 1.5 times that in width to get a "casual" hang in the fabric. For a dense look, you would double the width.
- The panels of fabric helped me decide on what came to be about 1.5 times the amount of fabric in width.
- For length, you need to measure the height that you want to hang. I was somewhat limited by the height by my reach from a 6 foot ladder. And the top of the window is already at 9 feet. I don't think I need 12 foot high curtains, thankyouverymuch. Remember this gem pin?

For the rod, that was pure math and really only based on the finials. Basically, I already had the brushed silver look going on my furniture. And they are rectangular, so boom. Choices made. And Target had it.
Once the fabric came in, you basically have to create a hem, fold down a bit at the sides, and then create a rod pocket which is really just fancy talk for not sealing the edge of what is essentially a hem. Make sure that the rod pocket is also big enough for your rod in case you choose something thick.
Iron those suckers before you hang them.
Once you're ready to hang the rod, make sure that you measure & level twice, drill once. The end of the rod should be about three inches out from your windows. In my case, I put the ends of the rod 3 inches in from the wall.
Be prepared to go up and down the ladder. A lot. Like, annoyingly a lot. Especially if you're hanging these by yourself. Actually, make sure someone is around to hand you things. That would reduce the number of trips up and down the ladder.
 |
| You can see the top edge of the window and the window about the door. That? Determined the height of my drapes. Well, that and the height I could reach from a 6 foot ladder. |
 |
| With the finials and the body of the fabric, you can see how the curtains really fill the space. |

I love this! Like I might try this in our room!
ReplyDelete